![]() Uploading
Transmille 6080 Plus
Uploading
Transmille 6080 Plus
Connecting the PAT to your PC
Before going any further, make sure your PAT tester is connected to your computer using the supplied cable (only use the cable that came with your PAT tester). If you want to see more information on what cables you need to connect your PAT tester or if you are using a USB to Serial converter tp connect to your PC click here. Cable Connections From Pat Tester To PC
NOTE!
Before uploading data to your Transmille, you may want to clear any data in the PAT (see below) First make sure that you have downloaded any data from the tester you wish to save.
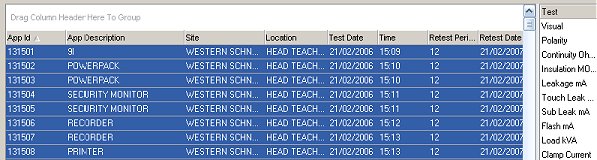
Before you can upload, you must select the tests which you wish to upload.
On the Main SimplyPats screen you can use the mouse together with the shift
and/or ctrl keys to select a range of tests.
Use the sorting and grouping options
if you want to select just a particular site or location.
Select the "Upload PAT" option from the "File Menu" and you will see the PAT Settings Upload screen. Shown below.
When this screen appears, you will need to check that the settings are correct. If you want to clear all the data in the Transmille, click on the Clear button and follow the prompts on screen.
Uploading the Transmille 6080 and 6080 Plus
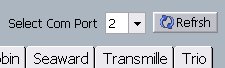
Select the Com Port that your PAT tester is attached to using the drop down box at the top of the screen.
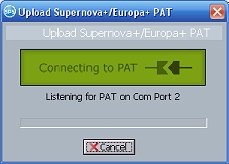
Make sure your Transmille 6080 or 6080 Plus Pat Tester is switched off.To Start the upload process, click on the upload button
and you should see a screen similar to that shown below as SimplyPats waits for the data from your PAT tester.
Now press and hold for a second, any of the yellow PRESS TO TEST keys on the PAT tester.
Uploading should start immediately.
After uploading has finished your Transmille tester will automatically switch off. You should see a message from SimplyPats confirming how many tests have been uploaded.
List of Data that will be uploaded
Return To Upload PAT Settings Screen
(This Topic Last updated 25/06/2012)